Your face has forty-three muscles. Think about that for a second. We hit the local gym to tone our legs, firm our arms, and tighten our core. Yet, we leave our facial features to fight gravity completely unprotected. Every stressful corporate email, sleepless night, and tense jaw-clench gets locked directly into these facial tissues. This is where facial massage techniques matter. The result is always the same: stagnant fluid, morning puffiness, and skin that looks plain tired.
You do not need an expensive, invasive surgical treatment to fix this.
A daily facial massage technique gets your blood flowing, drains pooled fluid, and wakes up sleepy skin cells. Ten minutes tonight can completely shift how your skin looks tomorrow morning. Let’s look at exactly how to manipulate your skin tissue to get that coveted, fresh-looking, radiant appearance.
Why Your Skincare Routine Needs a “Workout”
Muscles tighten up when we feel stressed out by work or daily life. The masseter muscle near your jawline is a prime culprit. When it tenses up, it blocks blood flow to your localized area. This lack of movement starves your skin cells of the nutrients they need to look fresh.
Using different types of facial massage directly counters this sagging effect. Physical manipulation acts like an internal gym session for your face. It gets fresh blood pumping to your skin tissue. This rush brings oxygen right to the surface, triggering instant brightness that lay creams cannot achieve on their own.
Varying your facial massage methods helps you target different layers of your face. Light sweeps move fluid away from your cheeks, while deeper finger pressure shapes the heavy muscle underneath. Mixing the best facial massage techniques keeps your face looking firm and contoured without requiring needles or surgery.
Prepping Your Canvas: Tools, Slips, and Serums
Never rub dry skin. Doing that stretches your delicate tissue and causes redness and irritation. You need a slick base so your hands can glide without pulling.
- Pick Your Base: Grab a few drops of jojoba, squalane, or rosehip oil. If your skin breaks out easily, a slippery water-based gel serum works perfectly too.
- Wash Up First: Clean your hands thoroughly. You are about to open up your pores, so you do not want to press old dirt or bacteria into your skin.
- Warm It Up: Rub your hands together to generate heat before touching your forehead or jawline.
You can execute a facial massage perfectly using just your fingers. Knuckles and flat palms apply excellent, controlled pressure. If you own a smooth stone tool, you can use it for a cooling sensation. The secret is simple consistency, not expensive equipment. This routine prepares your skin so the actual facial techniques can do their job without friction.
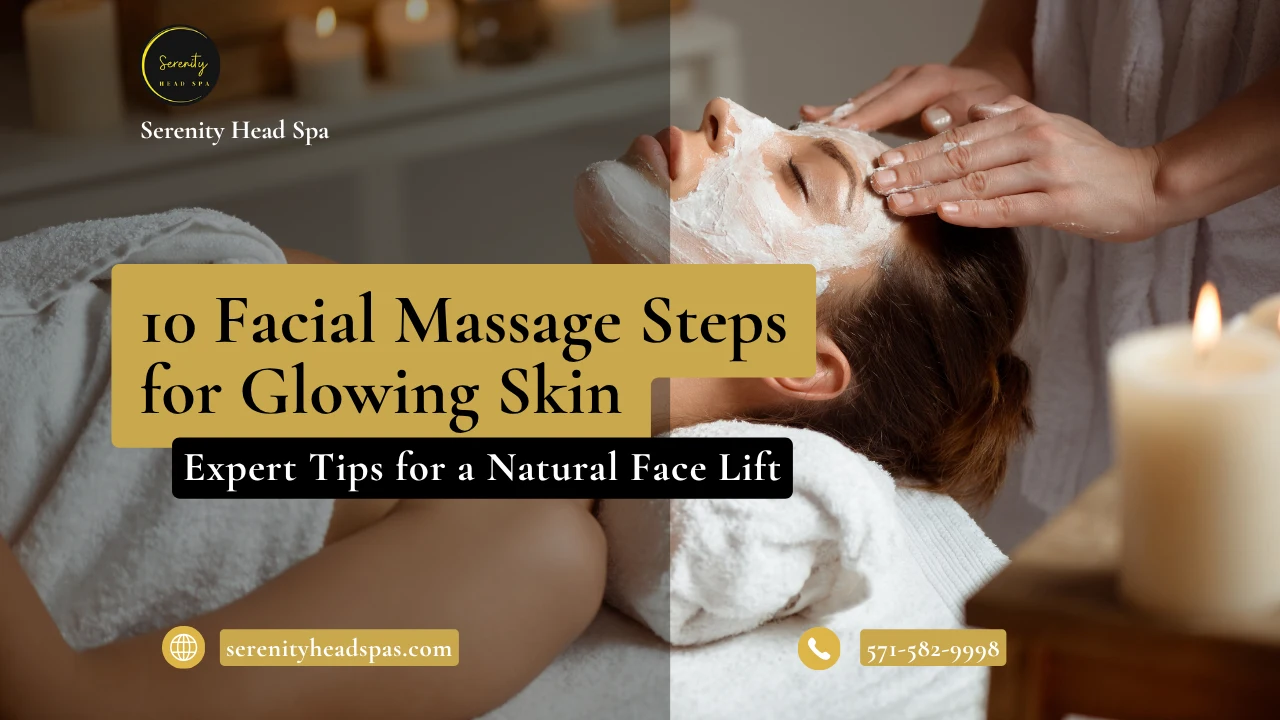
10 Best Facial Massage Techniques: Step-by-Step

Follow these facial massage steps in the order listed. We start at the base of the neck to clear out the exit paths, then move upward to lift the skin.
1. The Collarbone Pump
Place your flat index and middle fingers right into the hollow dips just above your collarbone. Press down gently in a slow, pulsing rhythm. Repeat this action ten times. This step activates your internal drainage pathways so trapped fluid has somewhere to go.
2. Upward Throat Sweeps
Flat-palm your hands at the base of your throat. Sweep upward toward your jawline using alternating hands. Keep your touch light here. This face-massage step-by-step action warms the skin surface and starts moving sluggish fluid away from your neck.
3. The Jawline Pinch
Make hooks with your index fingers and thumbs. Clap your jawline right at the center of your chin. Slide your pinched fingers outward along the bone all the way to your earlobes. Press firmly. This moves fluid out of the jaw area and helps define a soft profile.
4. Cheek Knuckle Kneading
Make loose fists and place your flat knuckles on your cheeks next to your nose. Use circular kneading motions to work up and outward toward your ears. This deeper face massage technique targets the zygomatic cheek muscles, helping lift a flat mid-face.
5. The Mouth Corner Lift
Take your pointer fingers and place them at the outer corners of your lips. Press firmly and slide upward toward the cheekbones, lifting the sides of your mouth. Think of it as manually forcing a smile. This counters the downward droop that happens from constant frowning.
6. Nose Bridge Sweep
Place your ring fingers at the bridge of your nose, right between your eyes. Press down and glide outward, following the shape of your cheekbones out to your temples. This clears away sinus pressure and reduces under-eye puffiness.
7. Tapotement Tapping
Pretend your fingertips are raindrops. Lightly tap your fingers rapidly all over your cheeks, forehead, and chin. It should feel like a quick pitter-patter. This quick motion wakes up nerve endings and forces fresh blood to rush to the skin’s surface, triggering an instant flush.
8. The Brow Squeeze
Pinch your eyebrows between your thumbs and index fingers, starting near your nose. Squeeze firmly, then move outward along the brow bone. This releases the deep tension that builds from squinting at computer screens all day.
9. Eye-Area Glides
Use your ring fingers because they naturally apply the lightest weight. Start at the outer corners of your eyes, glide underneath the lower lid to the nose, and trace over the brow bone. Repeat this smooth loop. It shifts trapped fluid that causes morning eye bags.
10. The Temple Hold
Rub your palms together until they feel warm. Place your flat palms directly against your temples. Press inward and move your hands in slow, upward circles. Take a deep breath. This final step relaxes your nervous system and locks in the full benefits of the routine.
When to Put Your Face in Expert Hands

Doing this at home keeps your skin moving. But let’s be honest: your own fingers can only do so much. When your face feels clogged, really dry, or just worn out from a long week, letting an expert take over makes a massive difference.
Our team at Serenity Head Spa can step in to help.
A professional Deep Cleansing Facial washes away the deep dirt, excess oil, and pollution that everyday life deposits on your skin. If your skin feels tight or shows dry flakes, our Hydrating Facial pumps heavy moisture back into your skin so it feels soft and smooth again.
If you want pure relaxation and great face sculpting, our Facial Massage Spa treatment targets tight facial muscles fast. We also offer a Light Therapy Facial that uses modern skin tech to smooth out rough spots that regular hand massages cannot fix on their own.
Final Glow-Up Checklist
Consistency beats hard rubbing every single time. Here is your quick daily plan to keep your skin looking top-notch:
- Do your massage steps for 5 to 10 minutes every night.
- Always wash your hands and face before you touch your skin.
- Move your hands upward and outward to help lift your face.
- Drink a full glass of water right after you finish to help clear out fluid.
Keep your movements steady, go easy around your eyes, and enjoy your new, fresh look.
Frequently Asked Questions
How often should I use these face massage steps?
Try for five to ten minutes every single day. Doing it daily keeps your blood moving and stops fluid from pooling in your cheeks and jaw. If you get too busy, even three times a week helps a lot.
Can these facial methods cause pimples or breakouts?
Not if you use clean hands and the right oil. Always pick safe oils that won’t clog your pores. Wash your face completely after your routine if your skin gets oily fast.
How much pressure should I use during a face massage?
Use a very light touch on your neck and around your eyes to protect those thin areas. You can use firmer pressure on your jawline, cheekbones, and forehead to work out tight knots.
How fast will I see a natural lift from this?
You will see less puffiness and brighter skin right away after your very first try. For bigger changes like a firmer jawline, it usually takes about four to six weeks of daily practice.